


NewsInformation Center
The correct operation process of button tension tester
2023/02/01
Share:
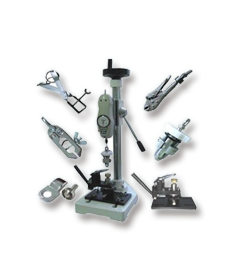
Button tension tester is composed of loading system, transmission system, digital data acquisition and processing system and computer measurement control display system, suitable for all kinds of components such as transmission shaft, shaft and other static mechanical performance test and screw torsion mechanical performance test.
The following is to share with you the correct operation process of the button tension tester:
1. Making samples: making samples according to the requirements of the test standards, and measuring its size and other data.
2, boot: first open the computer software measurement and control system, and then open the testing machine power supply. Select the test type according to the test to be performed.
3, trial run: choose the appropriate speed to make the testing machine up and down, to determine the normal operation of the system.
4. New records: According to the number of tests to be carried out, create the corresponding number of test records, and fill in the corresponding batch number, number, test environment, sample size and other relevant data.
5, install the sample: adjust the testing machine installed on the sample position, install the sample.
6. Select range: according to the range of test force and deformation required by the test, select the appropriate test force and deformation gear (range).
7. Zero clearing: zero test force, deformation and displacement.
8, test speed: according to the requirements of the standard test process, set the appropriate test speed; If there is no speed requirement on the standard, set a more appropriate speed. The speed should not be too large, so as not to affect the test results.
9, end conditions: according to the requirements of the standard test process, if you want to destroy the sample (such as tensile, compression), select the "broken type judgment"; If pull (or pressure) to a test force to end, select "target", "test force"; If pull (or press) to a deformation end, select "target", "deformation".
10, test start: click the "test start" button to start the test.
11. End of test: After the test is completed, the "End of test" button will be automatically pressed. If you need to end the test midway, you can also press the "End of test" button to manually end the test.
12. Test results: Click the "Analysis" button to view the corresponding test results. Continue the test: press the "Test" button to return to the test operation interface, and press the "Next" button to switch the test record to the next one, and repeat steps 5-11 for the test.
Previous: How the Circular track method fuzzing and pilling tester works?
N e x t : Taber Abrasion Tester test grinding wheel installation
